Posted on

Signature recognition

Matej Stetiar

Main purpose of this project was to recognise signatures. For this purpose we used descriptor from the bottom of the signature. Then we used Mahalanobis distance to identify signatures.

Image preprocessing

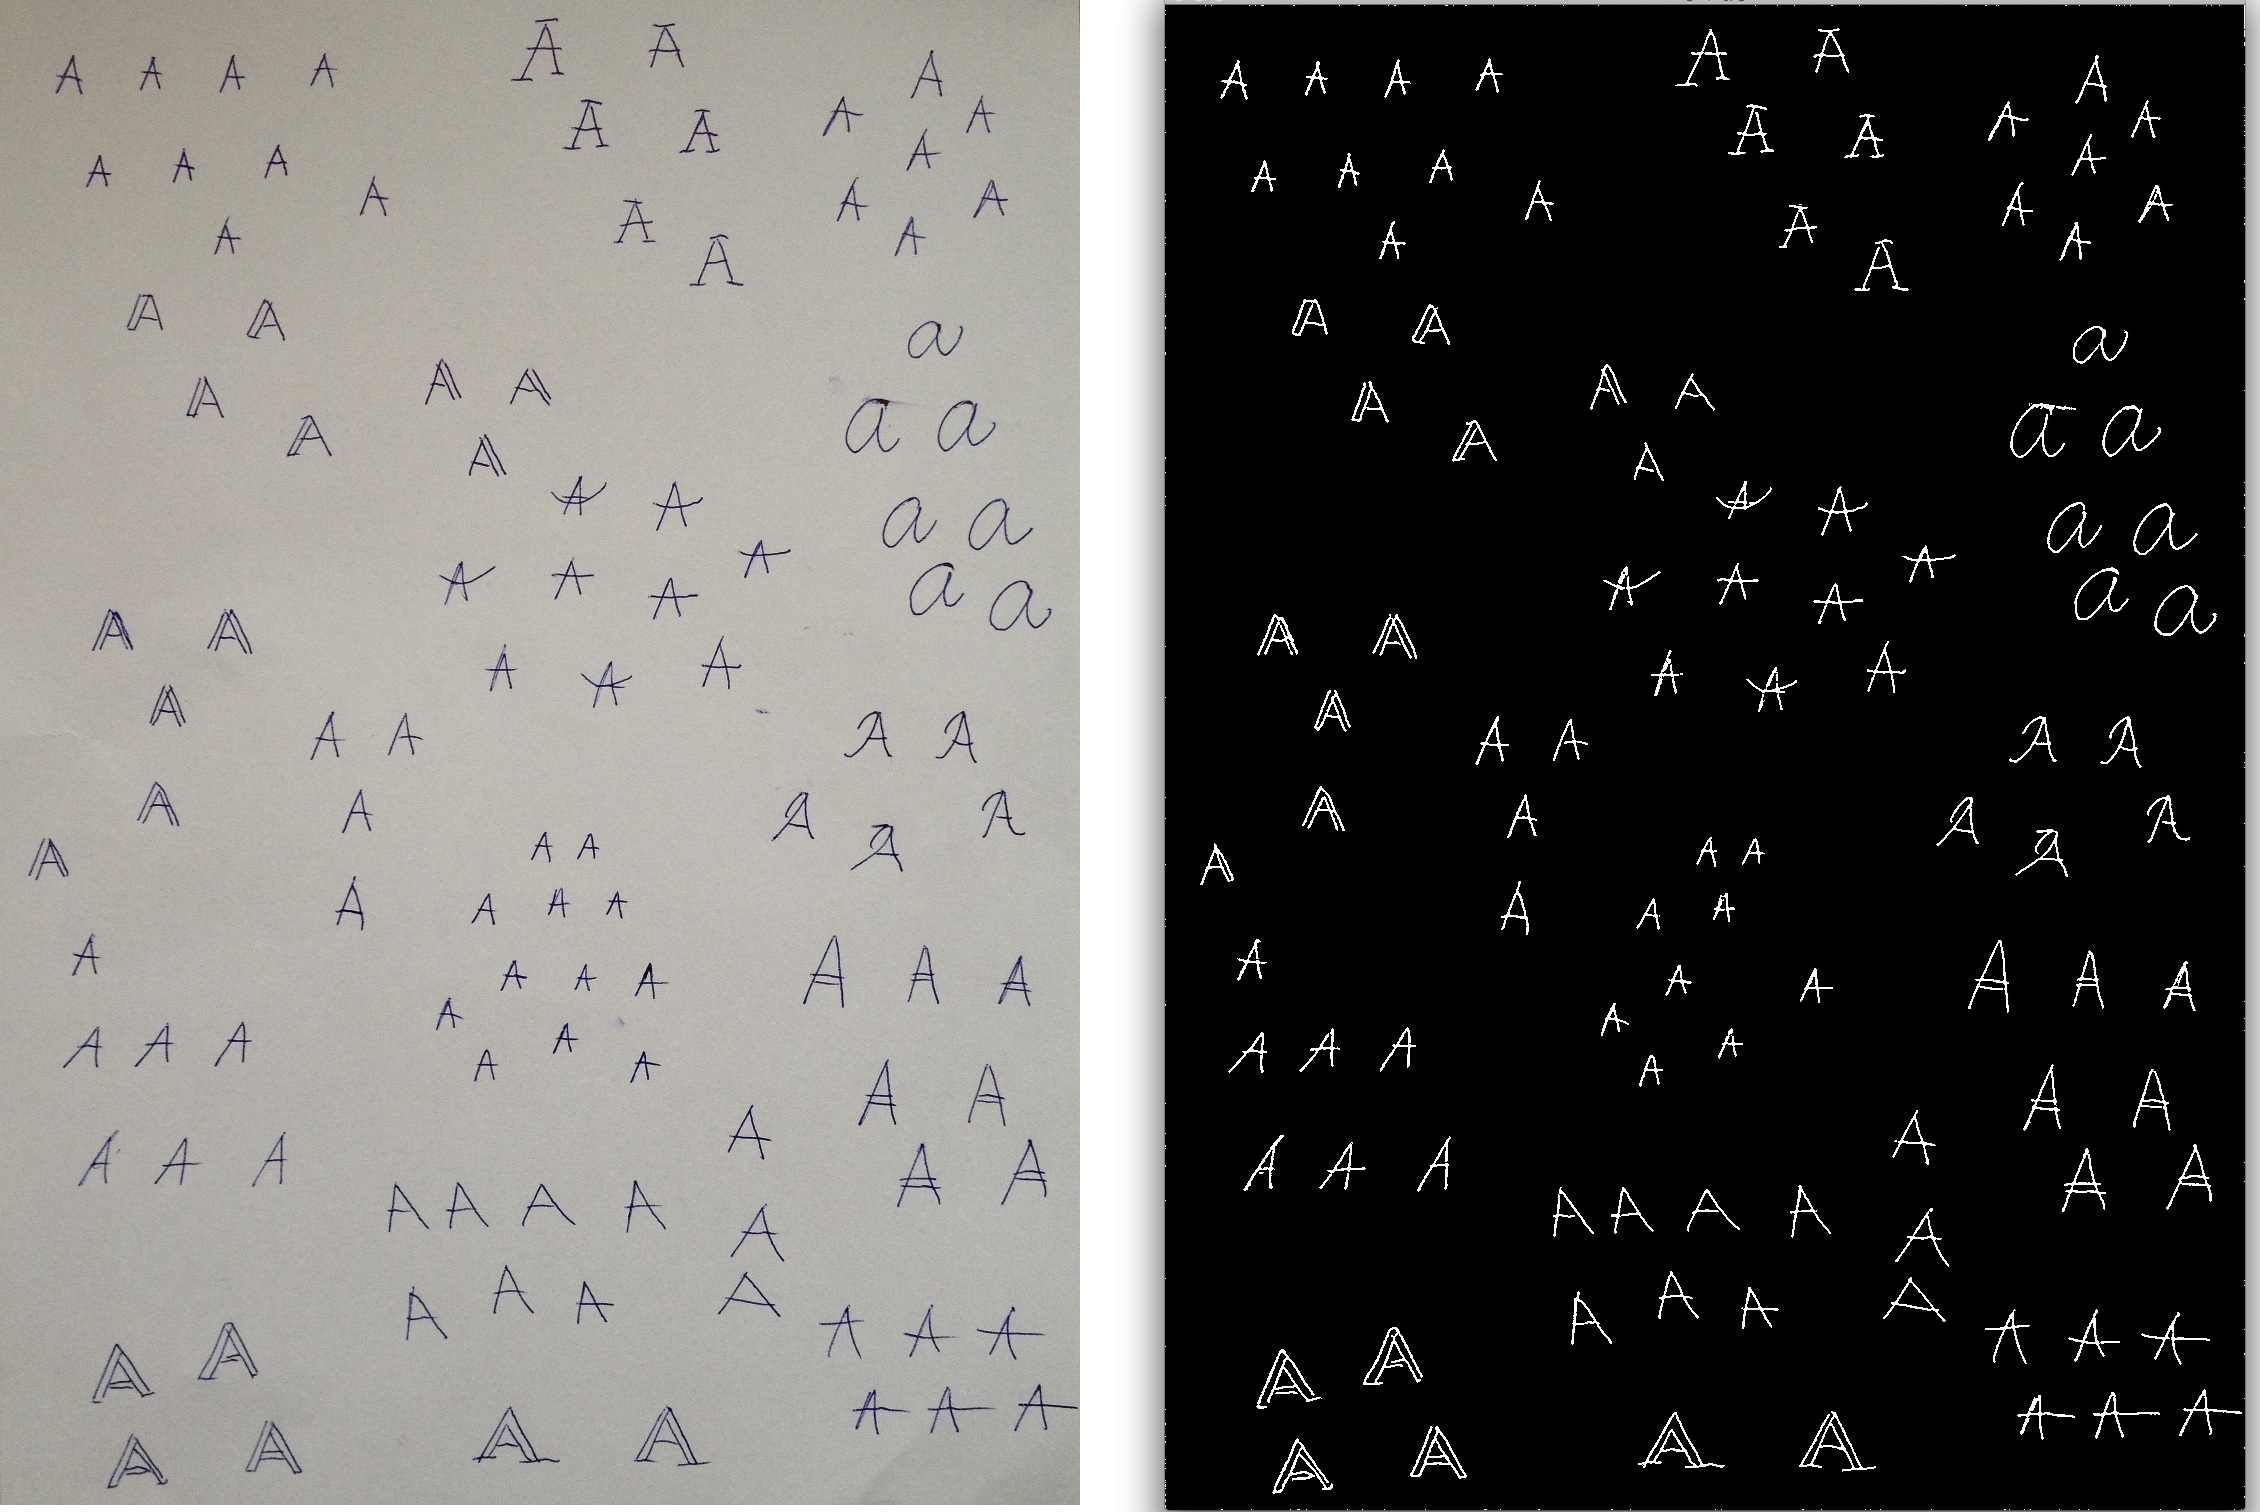
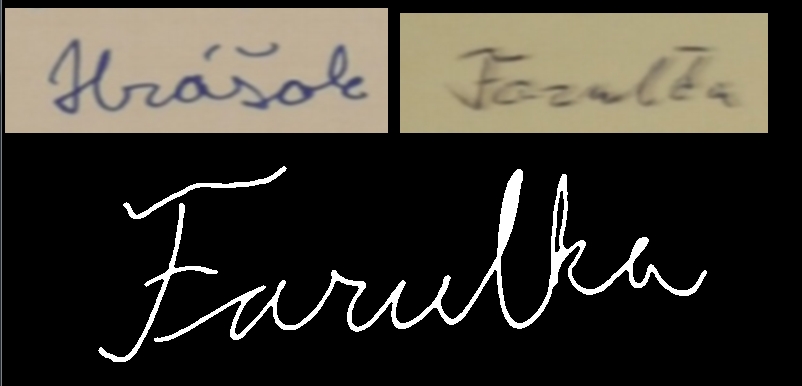
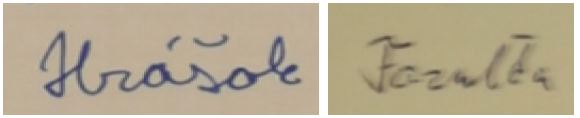
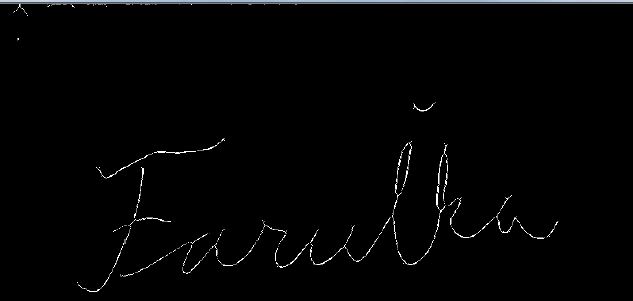
We have worked with 2 sets of signatures and each of them had about 200 pictures of signatures. Examples of those signatures are below.

stetiar_input
Input signatures

The signatures had different quality. So we decided to find skeleton of them.

Mat skel(tmp_image.size(), CV_8UC1, Scalar(0));
Mat tmp(tmp_image.size(), CV_8UC1);

Mat structElem = getStructuringElement(MORPH_CROSS, Size(3, 3));

do
{
	morphologyEx(tmp_image, tmp, MORPH_OPEN, structElem);
	bitwise_not(tmp, tmp);
	bitwise_and(tmp_image, tmp, tmp);
	bitwise_or(skel, tmp, skel);
	erode(tmp_image, tmp_image, structElem);

	double max;
	minMaxLoc(tmp_image, 0, &max);
	done = (max == 0);
} while (!done);
stetiar_sketelon
Skeleton of the signature

Then we decided to find contours and filter them according to their size to remove the noise.

vector<vector<Point>> contours;
vector<Vec4i> hierarchy;

findContours(image, contours, hierarchy, CV_RETR_TREE, CV_CHAIN_APPROX_SIMPLE);

Mat drawing = Mat::zeros(image.size(), CV_8UC1);
for (int i = 0; i< contours.size(); i++){
	if (contours[i].size() < 10.0) continue;
	Scalar color = Scalar(255);
	drawContours(drawing, contours, i, color, CV_FILLED, 8, hierarchy);
}

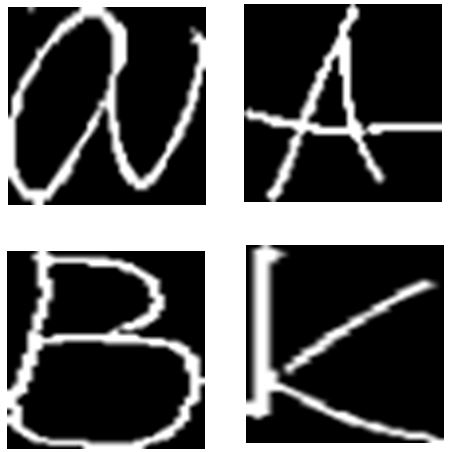
The result of image preprocessed like this can be seen below. This picture has very thick lines so we decided to add contour image and skeleton image together.

stetiar_contour
Contour image

For purpose of adding 2 images together we used logical function AND.

bitwise_and(newImage, skeleton, contours);

The result of this process was signature with thin line with no noise.

Creating descriptors

To create descriptors we used bottom line of the signature. To lower the factor of length of signature we always divided signature to 25 similar pieces. Space between these pieces was calculated dynamically. The descriptor was gathered as maximum of white point position in each of 25 division points.

To reduce the factor that signature is written in some angle we transformed the points to lower positions. To do so we gathered points in 10° range from lowest point. Then we calculated average of these points. Then we used linear regression to add coefficient to all points. Linear regression was made using maximal point and average of the other points.

Descriptor we created had counted with different lengths of signatures and different angles of signatures. So the last step was to normalise the height. To do so we subtracted minimum point of the signature from all points and then we divided all points with maximum from descriptor.

Learning phase

We created 2 sets of descriptors each with 180 examples. From these descriptors we created 2 objects of class Signature.

class Signature
{
	std::string name; //signature name
	cv::Mat centorid; //centorid created from learning set
	cv::Mat covarMat; //covariance matrix created form lenrning set
};

To recognition of the signatures we wanted to use Mahalanobis distance method. To do so we needed centroid for our data set and inverse covariance matrix. We calculated those using functions:

cv::calcCovarMatrix(samples, this->covarMat, this->centorid, CV_COVAR_NORMAL | CV_COVAR_ROWS);
cv::invert(this->covarMat, this->covarMat, cv::DECOMP_SVD);

In code above the variable samples is representing the matrix of all samples.

Testing

After we created inverse covariance matrix and centroid we could start testing. Testing of the signature was creating its descriptor using same steps as when creating descriptors in testing set. Then we could call function to calculate Mahalanobis distance.

Mahalanobis(testSample, this->mean, this->covarMat);

Using this algorithm we were able to identify some of the signatures. But the algorithm is very sensitive to changes in image quality and number of items in training set.

Posted on

Optical character recognition (OCR)

Robert Cerny

Example down below shows conversion of scanned or photographed images of typewritten text into machine-encoded/computer-readable text. Process was divided into pre-processing, learning and character recognizing. Algorithm is implemented using the OpenCV library and C++.

 The process

  1. Pre-processing – grey-scale, median blur, adaptive threshold, closing
    cvtColor(source_image, gray_image, CV_BGR2GRAY);
    medianBlur(gray_image, blur_image, 3);
    adaptiveThreshold(blur_image, threshold, 255, 1, 1, 11, 2);
    Mat element = getStructuringElement(MORPH_ELLIPSE, Size(3, 3), Point(1, 1));
    morphologyEx(threshold, result, MORPH_CLOSE, element);
    

    cerny_preprocessing
    Before and after pre-processing
  2. Learning – we need image with different written styles of same character for each character we want to recognizing. For each reference picture we use these methods: findContours, detect too small areas and remove them from picture.
    vector < vector<Point> > contours;
    vector<Vec4i> hierarchy;
    findContours(result, contours, hierarchy, CV_RETR_CCOMP,
    	CV_CHAIN_APPROX_SIMPLE);
    for (int i = 0; i < contours.size(); i = hierarchy[i][0]) {
    	Rect r = boundingRect(contours[i]);
    	double area0 = contourArea(contours[i]);
    	if (area0 < 120) {
    		drawContours(thr, contours, i, 0, CV_FILLED, 8, hierarchy);
    		continue;
    	}
    }
    

    Next step is to resize all contours to fixed size 50×50 and save as new png image.

    resize(ROI, ROI, Size(50, 50), CV_INTER_CUBIC);
    imwrite(fullPath, ROI, params);
    

    We get folder for each character with 50×50 images

    cerny_character

  3. Recognizing – now we know what look like A, B, C … For recognition of each character in our picture we use steps from previous state of algorithm. We pre-process our picture find contour and get rid of small areas. Next step is to order contours that we can easily output characters in right order.
    while (rectangles.size() > 0) {
    	vector<Rect> pom;
    	Rect min = rectangles[rectangles.size() - 1];
    	for (int i = rectangles.size() - 1; i >= 0; i--) {
    		if ((rectangles[i].y < (min.y + min.height / 2)) && (rectangles[i].y >(min.y - min.height / 2))) {
    			pom.push_back(rectangles[i]);
    			rectangles.erase(rectangles.begin() + i);
    		}
    	}
    	results.push_back(pom);
    }
    

    cerny_template_matching

    Template matching is method for match two images, where template is each of our 50×50 images from learning state and next image is ordered contour.

    foreach detected in image
    	foreach template in learned
    		if detected == template
    			break
    		end
    	end
    end
    

Results

Recognizing characters with template matching in ordered contours array where templates are our learned images of characters. Contours images have to be resize to 51×51 pixels because our templates are 50×50 pixels.

matchTemplate(ROI, tpl, result, CV_TM_SQDIFF_NORMED);
minMaxLoc(result, &minVal, &maxVal, &minLoc, &maxLoc, Mat());
if (maxVal >= 0.9) {	//treshold
	cout << name; // print character
	found = true;
	return true;
}

Currently we support only characters A, B, K. We can see that character K was recognized twice from 4 characters in image.  That’s because out set of K written styles was too small (12 pictures). Recognition of characters A and B was 100 % successful (set has 120 written style pictures).

cerny_original
Original image
Cerny_ocr
Recognized image

Console output: abkbabaaakabaaaabaaapaa

Posted on

TranSign, Android Sign Translator

This project shows text extraction from the input image. It is used for road sign texts translations. First, the image is preprocessed using OpenCv functions and than the text from road sign is detected and extracted.

Input

The process

  1. Image preprocessing
    Imgproc.cvtColor(img, img, Imgproc.COLOR_BGR2GRAY);
    Imgproc.GaussianBlur(img, img, new Size(5,5), 0);
    Imgproc.Sobel(img, img, CvType.CV_8U, 1, 0, 3, 1, 0);
    Imgproc.threshold(img, img, 0, 255, Imgproc.THRESH_OTSU+THRESH_BINARY);
    
  2. Contour detection
    List<MatOfPoint> contours;
    Imgproc.findContours(img, contours, new Mat(), Imgproc.RETR_EXTERNAL, Imgproc.CHAIN_APPROX_NONE);
    
  3. Deleting contours on edges, small contours, wrong ratio contours and wrong histogram contours
  4. Preprocessing before extraction
  5. Extraction
    TessBaseAPI baseApi = new TessBaseAPI();
    baseApi.init(TESSBASE_PATH, DEFAULT_LANGUAGE);
    baseApi.setImage(bm);
    String resultParcial;
    
  6. Translation

Sample

Preprocessing – converting to greyscale, Gaussian blurring, Sobel, binary threshold + Otsu’s, morphological closing
Contour detection and deleting wrong contours
Preprocessing before extraction
Extraction
Translation